Design for Accessibility Guide

accessibility
Accessible Canvas Pages
accessibility
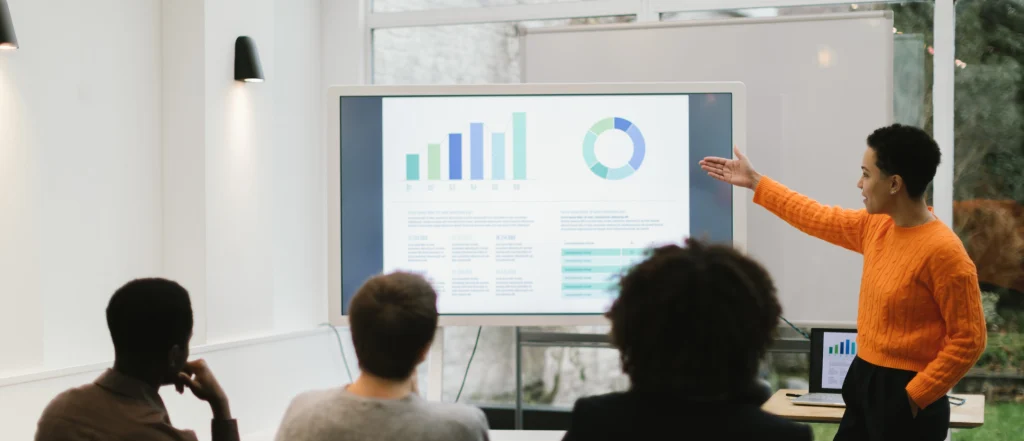
Accessible Slide Decks
accessibility
Accessible Text and Documents
accessibility
Accessible Video and Multimedia

accessibility
Creating Accessible Content
accessibility
Design for Course Accessibility
accessibility
Why Accessibility Matters
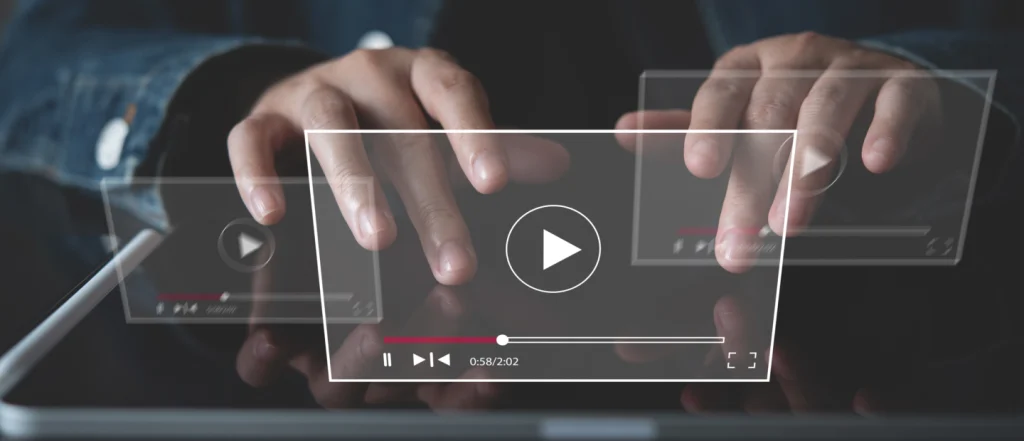
Check Video
Whether it’s a video you made yourself or one someone else made, it is your responsibility to ensure the video is accessible to all students if you are using the video in your course. Here are some things to keep in mind when creating accessible videos:
- All videos must be closed captioned which include a transcription of the dialogue and audio cues such as music or sound effects. View How do I add auto-generated captions to my media file in Canvas Studio? for complete instructions.
- In addition to closed captions, you may be required to include video descriptions, which are audio-narrated descriptions of key visual elements. Here is a video of a movie Trailer with Audio Description from YouTube.
Tips for Captions in Kaltura
When recording videos for your class with Kaltura, there are a few things to keep in mind to make creating captions easier:
- Be close to the microphone but don’t shout. Practice with test videos and listen back to gage a comfortable volume.
- Speak at a moderate pace. If you aren’t sure, go for a slower approach which will make it easier for captions to pick up, and students can increase the video speed if they wish.
- Pausing for emphasis or listing items may create separate sentences in the captions, which could adjust the meaning of a sentence. Practice with test videos and remember to check punctuation in the caption’s editor!
- Ideally, you will want to record videos in a quiet place that does not echo. Be sure to close the door, shut off any appliances or machines that create background noise, and silence your cell phone to avoid interruptions.
How to Add Kaltura Captions
Kaltura will automatically generate and add captions for you, as indicated by the “cc” button on the bottom navigation bar of your video after you upload it. If your captions are not automatically generated, you can manually request them from the Kaltura video editor.
- In Canvas, navigate to the “My Media” tab in your account and select the video you want to add captions to.
- With the video opened, click the “Actions” button on the right, and select the “+ captions & enrich” option from the dropdown menu.
- Scroll down to the “Order Captions & Enrichment Services” section and leave all options as the default, then click “Submit”. This will create a new order for captions. You will see a blue ribbon above the order section indicating the request was successful. The status of the captions order will begin as “Pending” and change to “Ready” when they are finished.
- In order to edit captions, click the pen icon to the right of the status of the Ready captions order to edit them. Be sure to read through and ensure everything is timed properly, grammar and punctuation are correct, and the placement of your text is to your preference.
How to Edit Kaltura Captions
Kaltura’s generated captions are about 85-90% accurate, but it is good practice to still check and fix them. With your video opened to the captions editor page, you can edit the text in a number of ways:
- Edit a caption line directly in the list of captions on the left.
- Edit caption details at the top of the page.
- Find and replace specific text using the search boxes at the top of the page.
- Add the speaker’s name at the top of the page.
- Add a caption line in the list of captions on the left.
Be sure to view Kaltura Knowledge Center’s Editing Options page for a detailed walkthrough on how to edit captions. When you are satisfied with your changes, remember to click “Save” at the top of the page!
Kaltura’s YouTube Extension
This extension allows you to link a YouTube video to Kaltura and keep all the metadata associated with it, meaning the connection is still present to YouTube, the original owner of the video can still benefit from views/interactions, and there is no copyright issue with linking it.
The YouTube Extension is a great tool if you have YouTube videos for your course without captions. The process for adding captions to these videos is the same as for adding captions to Kaltura videos, so be sure to add the YouTube video to My Media and follow the same process!